Adventures in Mold Making Part II - Sprigs to Soap!
- 0 Comments
I've been making soap for I don't know how long, maybe 20 years. My first soap was made using Melt and Pour (MP) base purchased at a local craft store. Almost all the big-box craft stores carry a selection of MP soap kits and accessories. (Although, the quality of the "soap" isn't necessarily the greatest. It's also not really soap, it is detergent. But that's another blog...)
There many options for the molds used to make MP soap. From the simple re-purposed yogurt cup, to intricately designed commercial plastic molds. I have an ample selection of those.

I do love some of the commercially available molds. With them I can make all kinds of soaps that appeal to many different buyers.
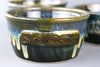
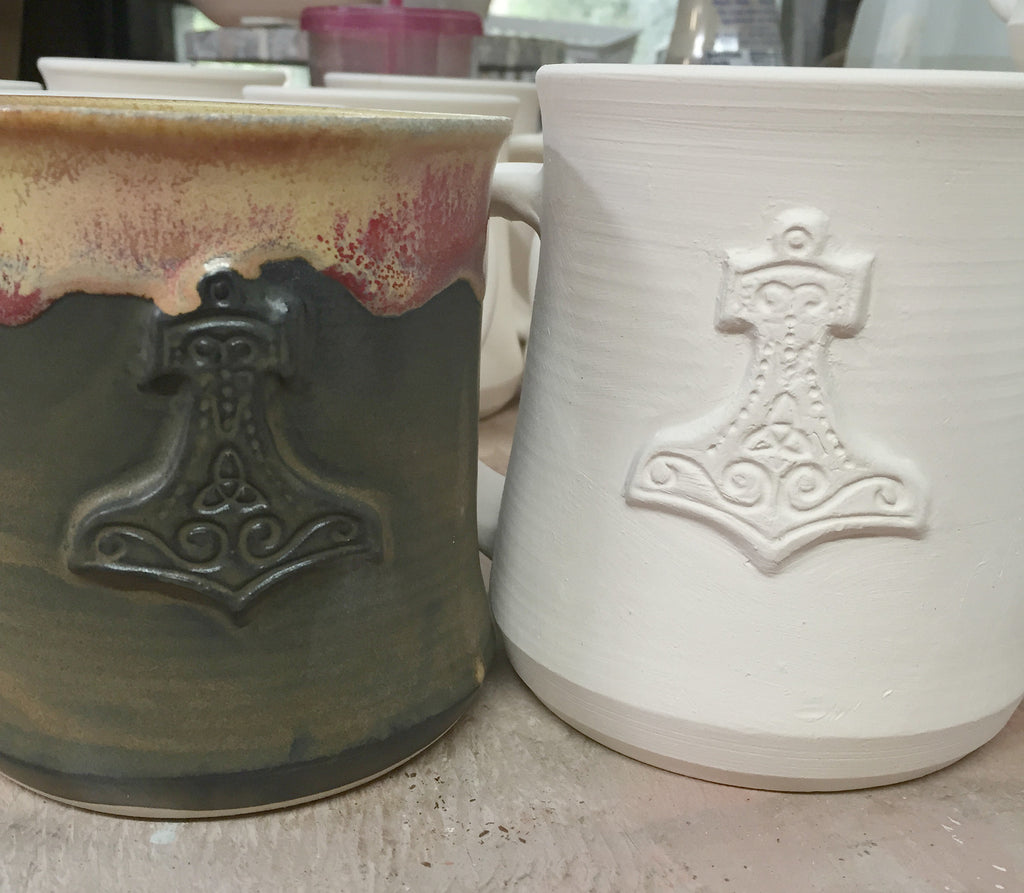
But, when I saw the results of some the most recent ceramic sprig molds I made, I started to wonder.....wouldn't it be cool If I could make soap with these same designs?

So, I set about making the "mold master" for a soap mold.
First, I measured all the sprig molds that I wanted to use, so I could created a base that would accommodate all of them. In this case, I wanted to have soap that had my newest sprigs: Welsh Dragon, Thor's Hammer (Mjolnir), Celtic Triquetra, and Celtic Triskle. I also wanted to have my soap-making be efficient, so I calculated the sized for 9 big bars of soap. Then I made a big slab using some of my white stoneware clay, Laguna B-Mix.
After I had my slab nice and level (no, I didn't take pictures of measuring, calculating and making the slab), I took a yard stick and pressed down along my division lines between the 9 soaps. This will provide a guide to cut the individual bars. Then I used my sprig mold to make 9 matching sprigs, and applied one to the middle of each soap rectangle.

After I got the full set of sprigs applied, I set up my cottle boards. Cottle boards are what I use to make most of my molds. They are simple wooden boards in with a "foot", that get held together with spring clamps. It's a simple system, and very flexible.
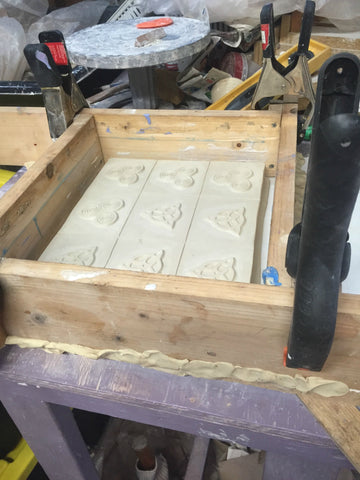
Once had my cottle boards placed, I used plasticine clay (modeling clay) to create dams at the corners and bottom.This keeps the mold material from seeping under the edge and around the bend. (Well, most of it, anyway.)
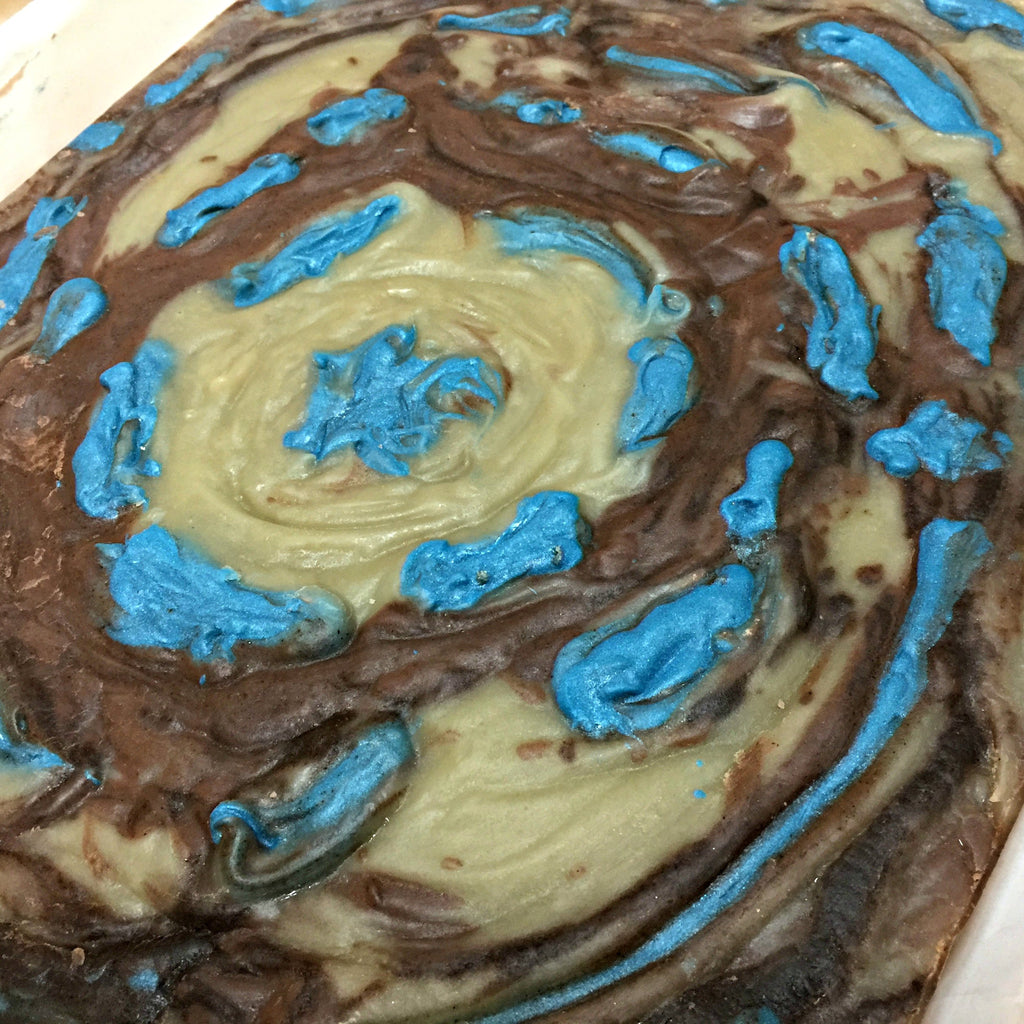
My mold material is silicone rubber by Smooth-On. I've used this product before to make wax molds, so I was familiar with the process of mixing and using. It's a very simple and reliable product, just combine the yellow with the blue and mix until it's purple (it's magic!). After I mixed it up, I poured it slowly over my mold form.
After pouring the silicone I used a rubber mallet to tap on the table-top. This released some of the bubbles in the silicone so they could rise to the top. Then I let the goo set up.
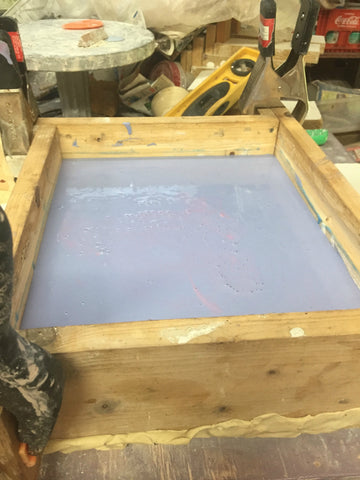
After about 8 hours I took the cottle boards off and carefully peeled the silicone off of the clay slab. (I could have done this earlier, the silicone sets up fairly fast, but I got involved in another project.)
After removing the silicone I carefully scraped off the sprigs, then made 12 more sprigs of a different design, and made another mold from the slab.

Here's the mold right after releasing from the clay. At this stage I washed it, cleaned up the edges, and then washed it again. And again.
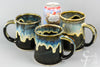
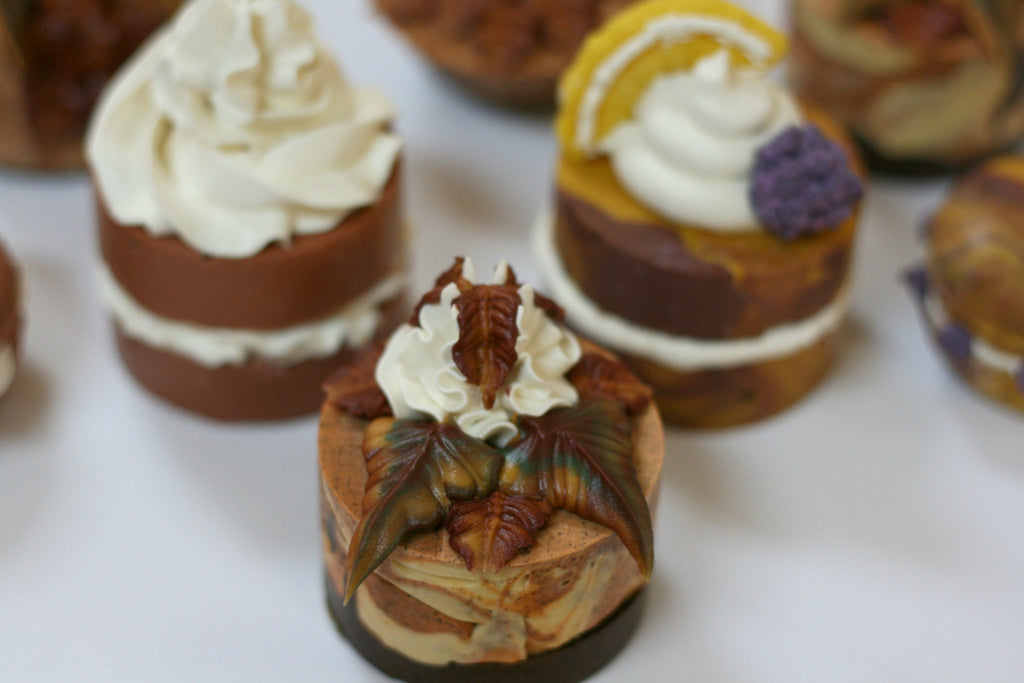
And then I made soap!
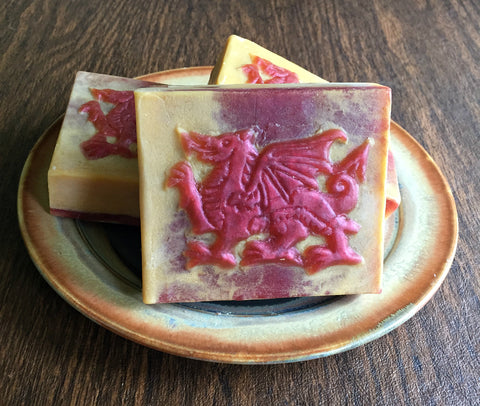
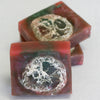
This is a Melt and Pour based soap that I split into two colors. Applied the red first, and then made a marble swirl with the red and gold.
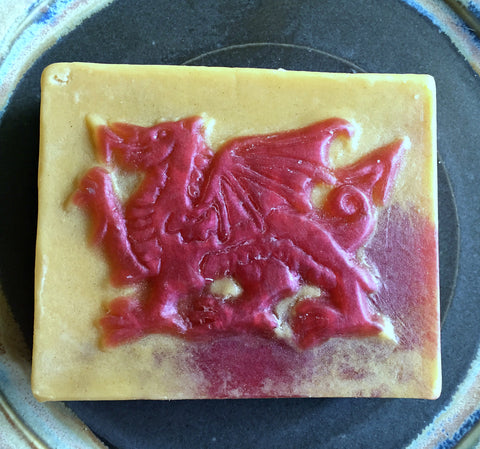
I'm pretty happy with the way it turned out. And they are for sale in our shop right now!
Oh, and remember when I said above that some MP soap is actually detergent, and not "soap". Well, ours is true soap; no SLS, and no detergents. We also make ours with added Shea butter. It's great soap - and now with dragons!
Recent Posts
-
-

-
SwampFires is Spreading!
October 24, 2016
-
-
-
-
Wood Grain Opal Soap - Great Cakes Soapworks Challenge
October 12, 2016
-
-
-

-
Adventures in Mold Making Part II - Sprigs to Soap!
September 09, 2016
-
-
-
-
September Soap Club Challenge - Piping Techniques
September 17, 2016
-
-
-
-
Adventures in Mold Making Part I - Plaster Sprigs for Pottery
September 09, 2016
-